
I have been meaning to do a tutorial on how to make these great dryer balls for months. Why are felted dryer balls so great??? Where do I begin!?
Dryer sheets are actually bad for your dryer; some dryer warranty's are void if you use dryer sheets. They are also full of terrible chemicals that are bad for you and certainly not safe for babies/ small children. I excitedly bought dryer sheets when I first moved out (Mom said they were bad for us and wouldn't let us use them when I lived at home.) And, I broke out with a TERRIBLE full body rash that took almost 5 months to go away with prescription cortisone creams, etc. I also had to re-wash everything in my home several times to get the chemicals out. (Turns out Mom actually knew what she was talking about, go figure!)
Those plastic dryer balls don't cut it in my opinion. They bang around and are loud. They aren't very heavy and I can't imagine the move the laundry around that much more. They crack after a few months, don't reduce static, and don't smell nice.
Felted dryer balls are the bee's knees ;) They are heavier than the plastic ones so they help bang laundry around for good circulation and keep laundry soft. But, they are soft wool, so they aren't loud in your dryer and never crack. Plus, they actually heat up and steam hot air. I find they dramatically reduce the drying time required (saving you $$$) and reduce static. You can easily scent them with your favorite essential oils for natural and safe scent on your laundry. Plus, they are completely safe on even babies clothes and ideal for cloth diapers. The ones in the pic above are well loved; about a year old but still work great! Velcro will stick to these and make them a little fuzzy. You could trim the fuzziness if you were worried; I'm not, they just go in the dryer :)
Want some!!!??? They are EASY to make!
Here's how:
First of all, you need to find wool appropriate for felting. Look for wool that says "roving" or even says "for felting." It needs to be 100% wool or very close to it. The wool strand needs to be lose; not tightly wound to felt properly. The BEST thing is buffalo wool if you can find it; I found bags and bags of it at a thrift store for a few bucks :) You need quite a bit of wool, so get whatever is cheapest or on sale. :)
 To keep the cost down, you can "fill" the center of the ball with a piece of crumpled up fleece. Then tightly wrap the wool around the fleece in all directions to create a ball of wool. (or just make a tightly wound ball of wool.) You can also use up bits of leftover roving wool. I make my dryer balls about the size of a baseball. To finish off the ball, use the end of a small crochet hook or knitting needle to "stab" the end of the wool deep into the ball to prevent it from unraveling.
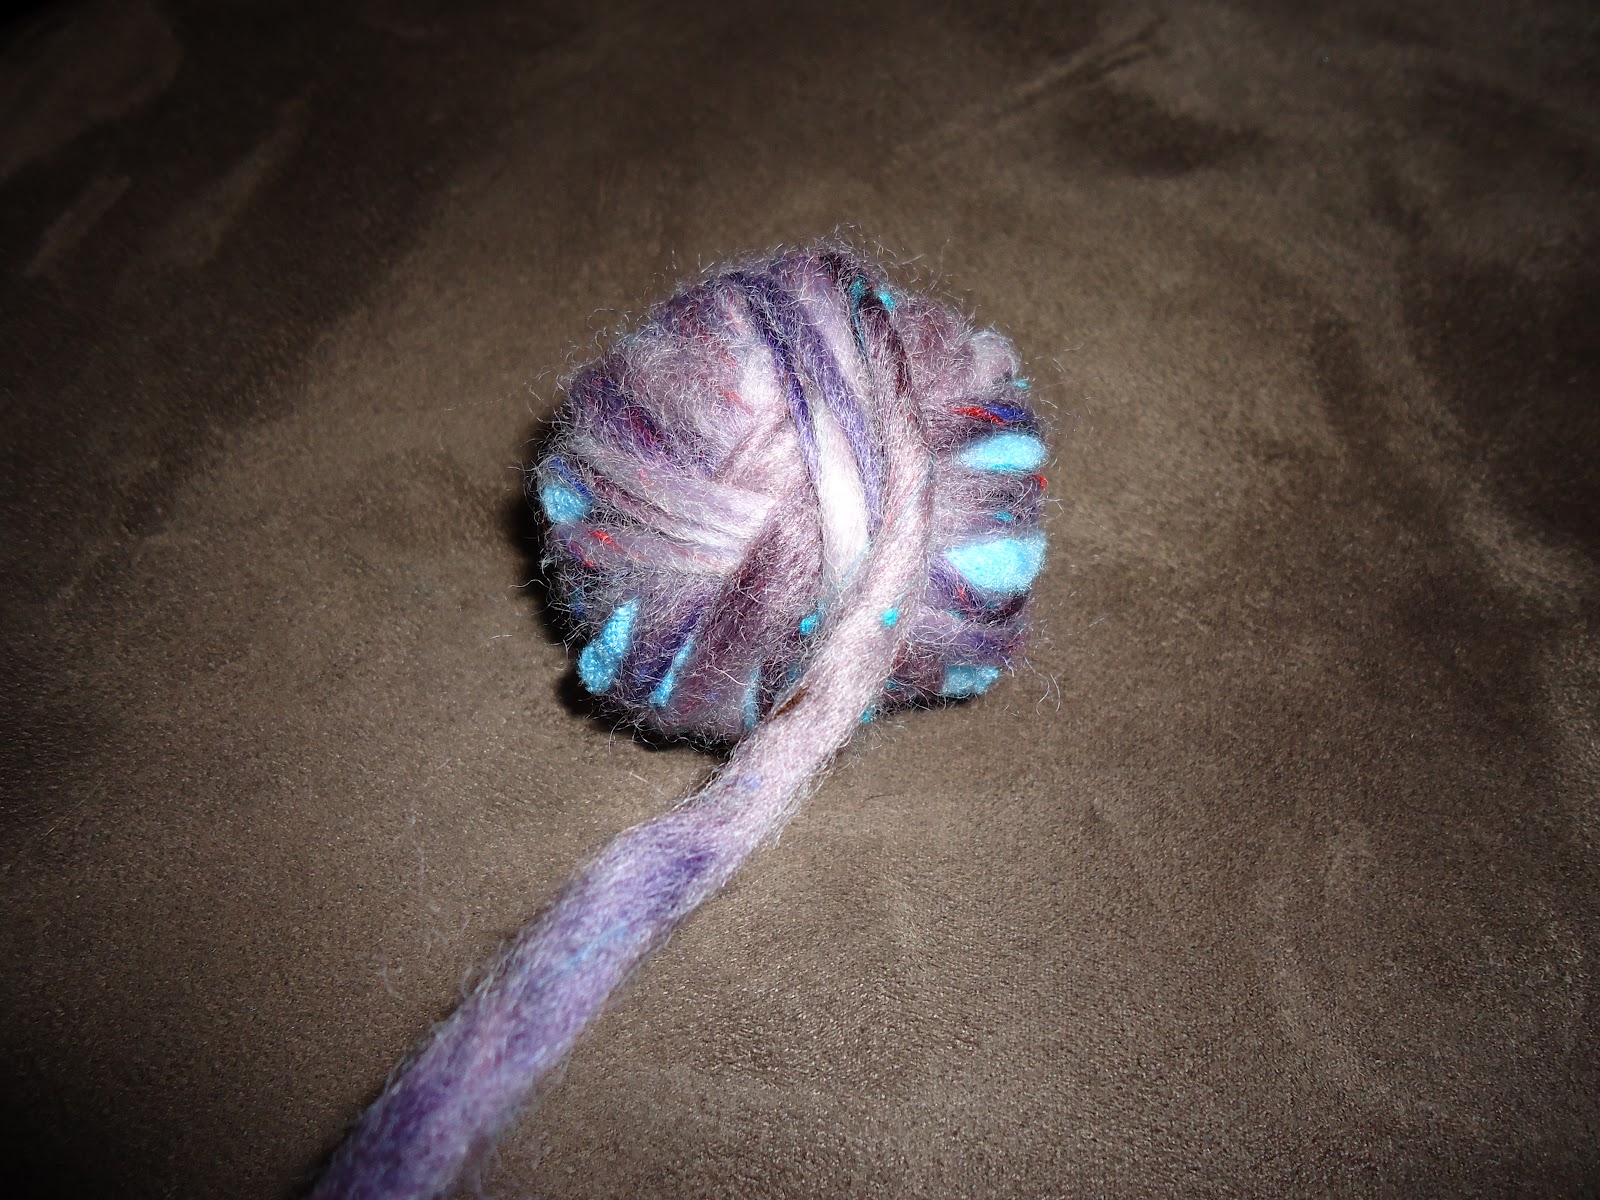

 Then, tightly tie the balls individually in an old pair of nylons. (it has to be tight or it won't work.) Then you wash them in the washing machine with HOT HOT wash (and a bit of laundry soap,) COLD rinse. (I even run the hot water in the near by bathroom to get the hot water upstairs before turning the washing machine on to make sure it's HOT.) Dry, then repeat the washing drying directions a second time.
If you are washing the dryer balls with other laundry, be careful as the dryer balls may run color at first if you used bright wool. They won't transfer color in use after being washed twice. They may smell like a wet sheep at first but don't worry! Washing them twice reduces the smell. Once they are dry, and only used in the dryer, they won't smell sheep-ish.
After washing and drying twice, you can cut open the nylons and peel out the dryer balls. They might be really stuck in the nylons, but that's "OK." It just means they felted well. Scent each ball with a few drops of your favorite essential oil if desired and you're ready to go! They may need a drop of two of oil every 4-5 loads to keep the scent up. I love lavender and vanilla oils. I get mine at Sage.
ENJOY! These make a great gift for a baby shower or a new mom :)


